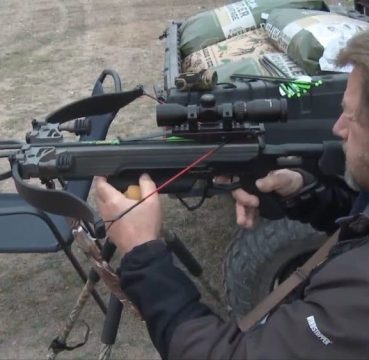
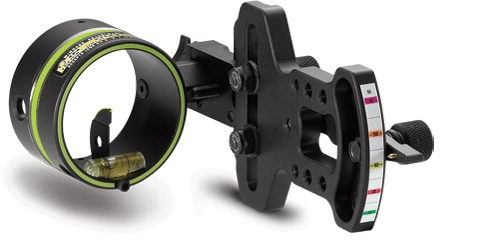
The most important part of using a crossbow is being able to aim it properly. Simple enough, right? Well, no so fast. In this article we will walk you through how to sight in a crossbow with a scope. If you are in the market for the best crossbow scope, check out our complete review.
Poor accuracy can make you a danger to yourself and those around you, meaning you should take every precaution possible when using a crossbow to avoid hurting anyone.
One tool to assist in this is a properly sighted crossbow scope, with emphasis on the “properly sighted” part. Sighting a new crossbow scope can be difficult even for veteran shooters, though a bit of practice should keep it from being an impossible task.
Follow this simple guide on what you’ll need to do to properly sight your new crossbow scope.
Table Of Contents
- Sight In a Crossbow – Getting Started
- Caldwell Ballistic Precision Chronograph
- First Sight in a Crossbow Test
- Sighting in a Crossbow – Making Adjustments
- Second Sight in a Crossbow Test
- Crossbow Range Compensation Reticles
- Video Guide to Zeroing Your Scope
- Sight In a Crossbow – Conclusion
- Recommended Reading
Sight In a Crossbow – Getting Started
To begin, you’ll first need to gather all the essential materials.
These will typically include: Your crossbow, the scope, the scope’s user manual, a compatible screwdriver, a crossbow rest, four or more arrows, some kind of target, binoculars, and a chronograph (not always necessary but helpful to own in general).
Hopefully, your scope is already attached to your crossbow, but if it is not, you’ll need to do so now before you can begin sighting it. There should be instructions included in the user manual telling you how to do that if necessary.
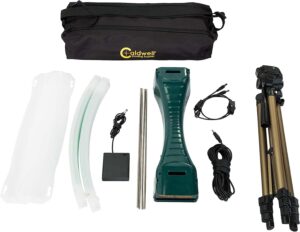
Caldwell Ballistic Precision Chronograph
First Sight in a Crossbow Test
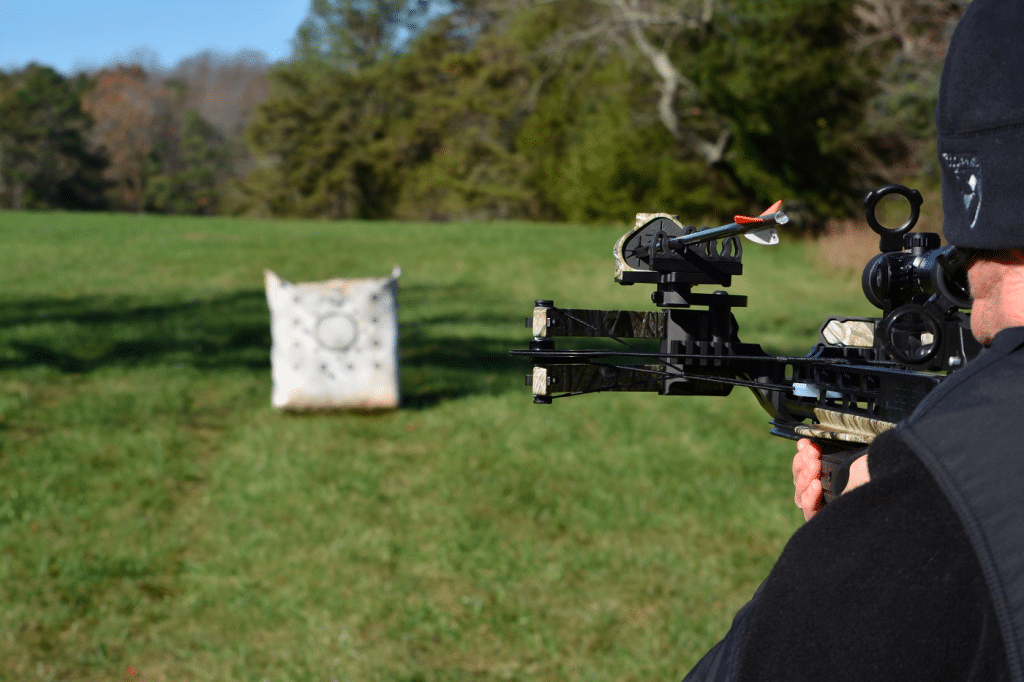
With your crossbow and attached scope, you will now be able to start the process of sighting. Set up a target(s) exactly 20 yards away from you.
Draw back the bow with a rope or crank and seat an arrow in the flight rail. Now take aim through the scope and prepare to fire.
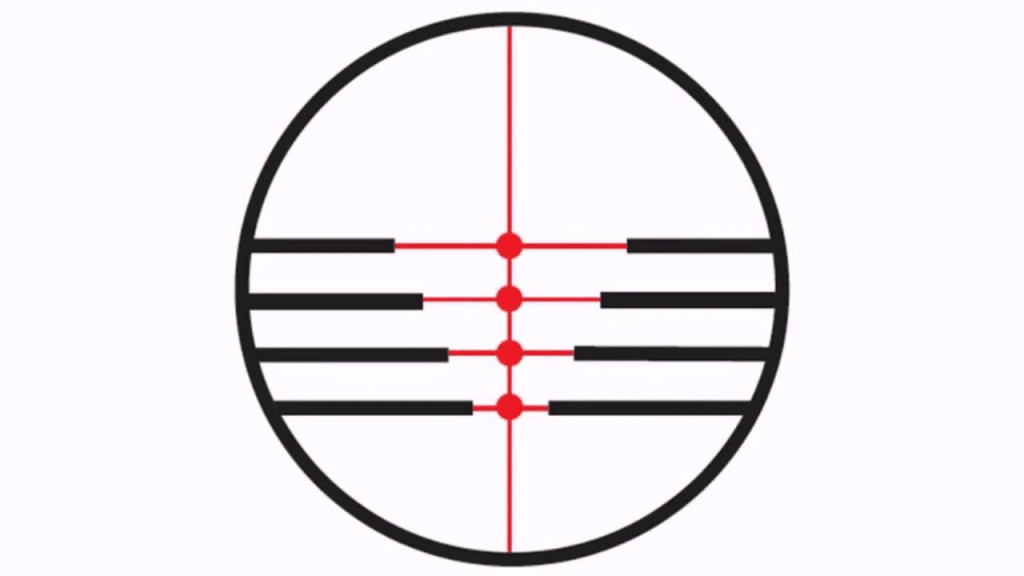
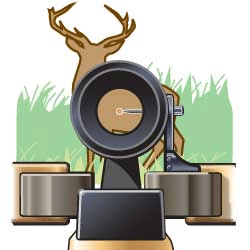
When aiming through a crossbow scope, make sure to slight the topmost red dot or reticle (which one you have depends on your scope) with the target’s bulls-eye.
Quickly squeezing, not pulling, the trigger with only the tip of your index finger, shoot the target and check to see how closely you hit to the bulls-eye, either by moving to check it or using your binoculars.
Ideally, you will have hit on or near the bullseye from an exact distance of 20 yards. This is because each dot or reticle in the scope corresponds to a distance from your target.
Unless otherwise stated in the manual (in which case, you’ll need to adjust your distance to account for this), the topmost dot/reticle should indicate a target that is 20 yards away. Each additional dot/reticle below it typically increases the distance by 10 more yards.
In the event your arrow did not hit the target at all, you will likely need to boresight your crossbow. This simply means realigning the flight rail so it properly matching the target.
Once this is complete, fire the rest of your arrows and try to group them as closely together and to the bulls-eye as possible.
Sighting in a Crossbow – Making Adjustments
After shooting all your arrows and checking your grouping, it’s time to adjust your windage and elevation.
Windage and elevation refer to how far to the sides and up and down, respectively, your crossbow fires. They’ll need to change based on the results of your test shots, moving them to correct for any pull one way or the other that prevented you shooting the bulls-eye.
You’ll find the windage adjustment knob on the side of your scope under a protective cap. Moving it clockwise will adjust to the right while moving counterclockwise will adjust to the left.
While the exact distance should be listed in the manual, most scopes will adjust by 1/20” of an inch at 20 yards for every click you hear while adjusting the knob with a screwdriver. Estimating or measuring the distance from where your arrows hit to the bulls-eye will tell you how far to which side you’ll need to change the windage.
Do the same for the elevation. This knob is located on top of the scope. Clockwise will elevate the point of impact while counterclockwise will lower it, with the same click measurements as for windage.
After you complete adjustments on both of these knobs, make sure to replace the caps so they won’t be lost.
Second Sight in a Crossbow Test
Once this step is completed, you will need to test how your changes have affected the accuracy of your crossbow.
Collect your arrows, reload, and fire another volley into a fresh target. Fire from the same spot at the same distance as before, aligning the bulls-eye of your target to the topmost dot/reticle.
Compare the grouping and accuracy to your original tests, which will indicate whether you have adjusted properly or overcompensated. If this is the case, you will need to adjust again until it is correct.
If, after multiple tests, you’re still inaccurate, I suggest investing in a red dot scope for your bow. As with rifle scopes, red dot optics have the advantage of nearly unlimited eye relief, meaning they can be mounted on your bow as far forward as you need to comfortably aim.
Crossbow Range Compensation Reticles
If your scope features a range compensation reticle, you will need to adjust it differently from a normal scope.
To do this, set up a chronograph near a target and proceed with your first test, firing each arrow through the chronograph and making note of the velocity each time.
After taking your four shots, find the average velocity by adding together each test and dividing by four (the number of shots in total).
Then, you only need to dial in the result, following the instructions in your manual carefully.
Video Guide to Zeroing Your Scope
For an in-depth walkthrough of the crossbow scope-sighting process, I recommend this video guide by WeaponsAndStuff, which breaks down the process in simple to follow steps.
For the visual learners among us (myself included), YouTube is a great teacher.
Sight In a Crossbow – Conclusion
Congratulations…
Your crossbow scope is now properly sighted. Sighting your scope is a crucial part of crossbow maintenance. When it comes to survival weapons knowing your tools is half the battle. Remember to perform these tests regularly for best results and safety of your weapons.
Happy hunting!
