So you just bought your very first AR-15 and took it out for some practice shooting. Now you’ve blasted your way through a couple boxes of ammunition and it’s time to take your new firearm home. But what comes next? You’re gonna need to know how to clean your AR 15, but you’re not sure how. Perhaps you’ve pulled the pins and detached your upper and lower receivers. Where do you go from here? You’re about to learn how to clean an AR15 step by step.
It may seem like a daunting task, maybe even a bit confusing.
I assure you, it’s not. And in this epic guide to AR 15 cleaning and maintenance, I’ll teach you everything you need to know.
When you’re done reading this, you’ll be able to take your AR15 apart, clean it thoroughly, and put it back together again with ease and satisfaction.
Table Of Contents
Steps on How To Clean an AR 15
Step #1 – Tools for Cleaning a AR 15
You’ll need to get the tools necessary to clean your AR-15.
If you already own a handgun or a standard rifle, you should already have most everything you need to clean your AR-15. This is assuming that you’re a responsible gun owner who knows to clean your firearms regularly.
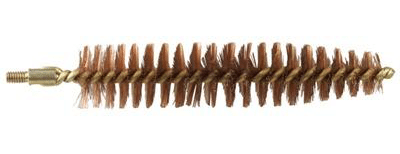
The only key tool you’ll need to pick up for your AR-15 is a bore brush for your specific caliber. Don’t worry, you won’t spend an arm and a leg on cleaning tools. On the contrary, a good bore brush can be found for under five bucks.
Brownells sells an AR-15 chamber brush for just $6.99 and it can also be used to clean an M16.
AR-15 Cleaning Kits
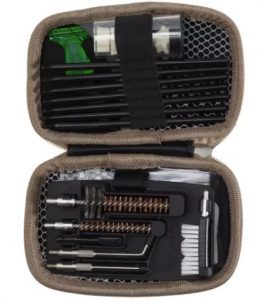
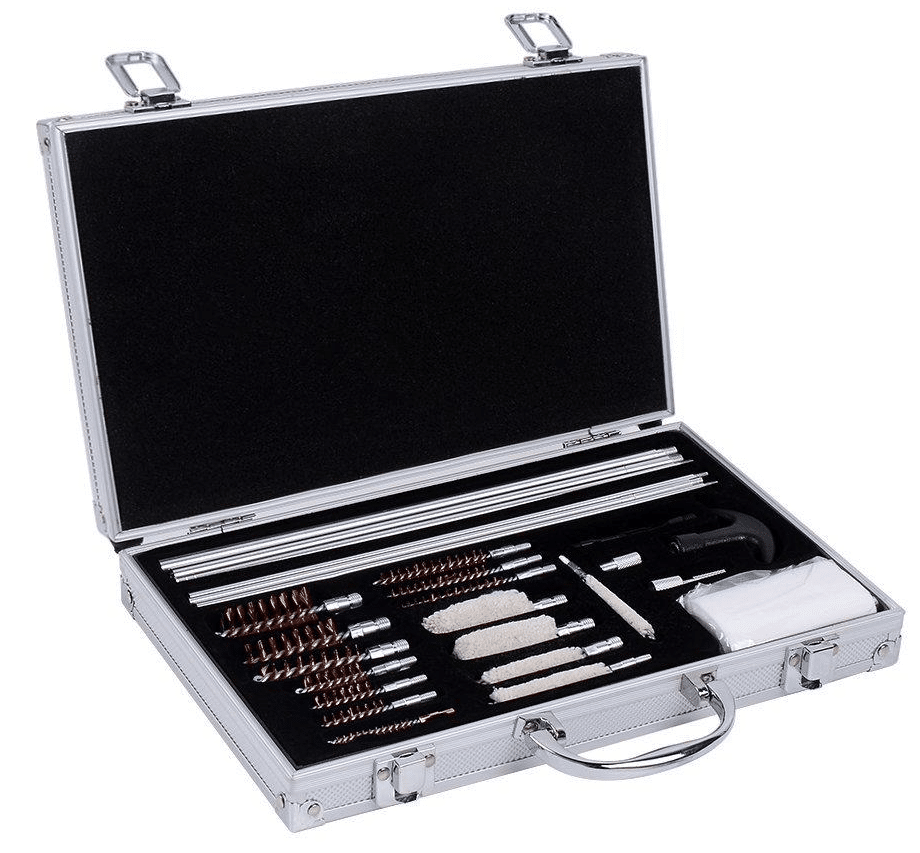
If, for some reason, you don’t already have cleaning tools, you can put together your own AR-15 cleaning kit or shop around for a pre-prepared cleaning kit.
Cabelas offers an AR-15 cleaning kit that comes with everything you need including the aforementioned bore brushes, a slotted patch tip, a punch pin and a rifle mop. It generally retails for around 35 bucks.
Real Avid Gun Boss AR15 Gun Cleaning Tool Kit
So is it better you just go out and buy one or are you better of building your own?
This ultimately comes down to personal preference.
If you just want a basic kit and you don’t plan on using your gun on a frequent basis, you may be happy with a pre-made cleaning kit.
On the other hand, if you are a high-volume shooter, you’re going to want a comprehensive kit for cleaning your AR15.
There are pros and cons to buying a pre-made cleaning kit. For starters, most of them aren’t as in-depth as the kind you could put together on your own. And while there are some decent options on the market, they won’t be of much help if you’re a competitive shooter.
Top five picks for pre-prepared AR-15 cleaning kits:
- Marksman Precision Universal Gun Cleaning Kit($79.99)
- Real Avid Gun Boss AR-15 Cleaning Kit($27.99)
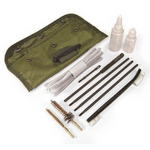
- Militaria M16 & AR-15 Cleaning Kit($15.99)
- Outers Gun Maintenance Brass Cleaning Kit w/ Wood Box($41.95)
- DAC Winchester Super Deluxe Soft Sided Gun Care Case($47.54)
When purchasing any of these viable options, you want to make sure that they contain the right size bore brushes and snakes, and all other tools that your AR-15 requires. You’ll want to match your caliber to the caliber size of the cleaning kit tools.
Alternately, if you decide to build your own cleaning kit, you’re going to want to pick up a sizeable tackle box to house all your cleaning accessories.
Personally, I use a Plano 3-Tray Tackle Box with Dual Top Access. It’s super affordable at just under fifteen bucks and it’s got plenty of compartments for a variety of tool sizes.
You may also want to pick up a gun cleaning mat. They go for around twenty dollars so they don’t break your bank, but if you’re feeling frugal, you can just as easily keep a tablecloth or white sheet around.
AR 15 Cleaning Brushes and Bore Snakes
Moving on, you’re going to want to purchase your brushes and bore snakes/rods. For most gun owners opting to build their own kit, it’s in their best interest to buy several smaller kits and combine them to build a sort of “Frankenkit.”
Here are some kits that include many of the items you’ll need for AR-15 maintenance:
| Product Name | Where to Buy | |
|---|---|---|
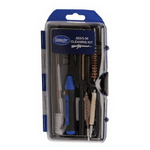 | Gunmaster 223/5.56 AR Rifle Cleaning Kit |  |
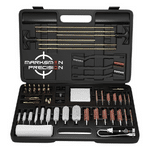 | Marksman Precision Universal Gun Cleaning Kit |  |
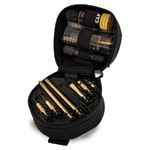 | Otis Modern Sporting Rifle & AR Cleaning System |  |
- Gunmaster 223/5.56 AR Rifle Cleaning Kit($18.99)
- Marksman Precision Universal Gun Cleaning Kit($88.98)
- Otis Modern Sporting Rifle & AR Cleaning System($50.24)
These kits include the brushes, punches, bore snakes and sundry other items you’ll need for cleaning your AR-15. They may include lube, solvents and clean patches. If you don’t know how to use a bore snake, our detailed guide might help you.
If you want to go the extra mile and enter into the realm of gunsmithing, you can get a more in-depth punch set such as the Ultimate Arms Roll Pin Punch Set ($19.99) or Grace USA’s Ultimate 27-piece Punch Set ($206.99).
Another good tool to have is the AR-15 Gun Vise ($119.99) which secures your gun while working on it without marring the weapon.
As for lubes, here are some of my favorite lubricants and cleaning solvents for maintaining the AR-15:
| Product Name | Where to Buy | |
|---|---|---|
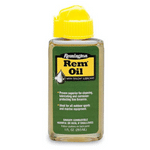 | Remington Rem Oil |  |
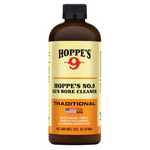 | Hoppe’s No. 9 Gun Bore Cleaner |  |
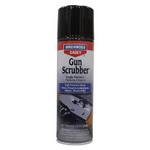 | Birchwood Casey Gun Scrubber |  |
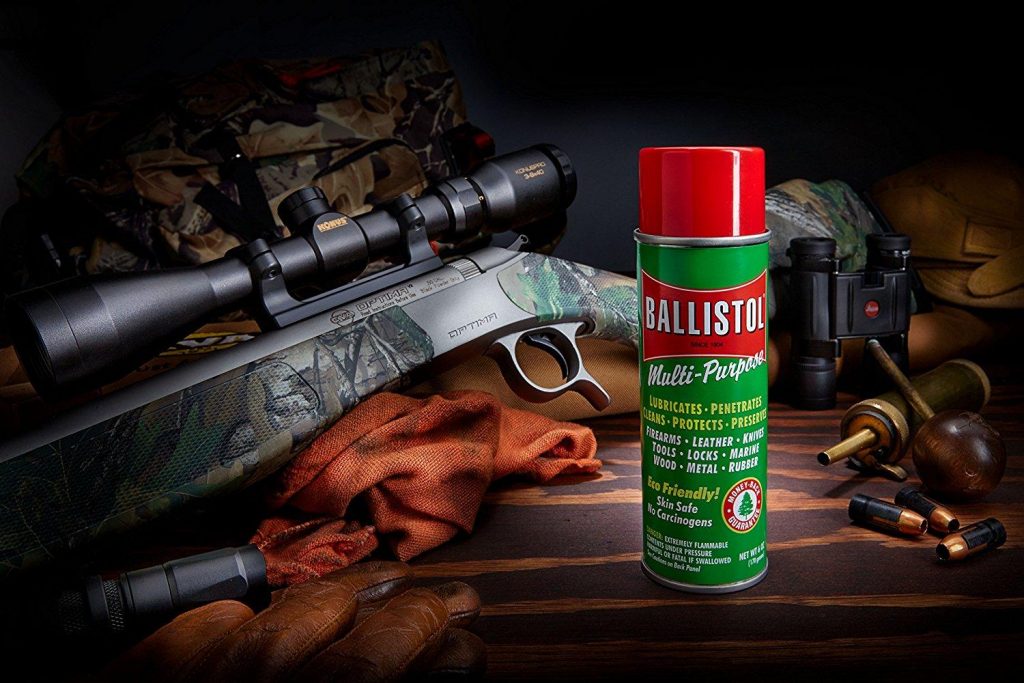
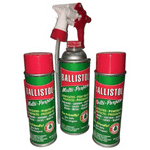 | Ballistol Multi-Purpose Aerosol Can Lubricant Cleaner Protectant |  |
- Remington Rem Oil ($6.50)
- Hoppe’s No. 9 Gun Bore Cleaner ($17.71)
- Birchwood Casey Gun Scrubber ($18.99)
- Ballistol Multi-Purpose Aerosol Can Lubricant Cleaner Protectant ($31.47)
Rem Oil is great at removing grime and removing moisture that causes rust and corrosion to develop. The Teflon-based formula reduces metal-to-metal wear which is good if you store your AR-15 with other firearms that come in contact with it.
Birchwood Casey Gun Scrubber works to eliminate jamming and improve accuracy. It’s a good spray to keep around because it can be used on any firearm.
Ballistol Multi-Purpose Aerosol Can Lubricant dissolves traces of copper, lead, black powder residue and brass, protecting your firearm from these and other harmful elements. It reduces acidity and is great to keep around the house for general household maintenance (it works on leather, wood surfaces, etc.).
Step #2 – Clear Your AR 15 Before Cleaning
Now you’re going to want to prep your cleaning area and clear your firearm. Remember, don’t ever begin the cleaning process without first making sure that your magazine is empty or removed and your chamber is empty.
If this is your first time clearing a firearm, here are the basic measures you need to take:
- Point the rifle away from yourself in a safe direction
- Remove the rifle’s mag
- Lock the bolt to the rear
- Inspect the chamber and remove any ammo that may be in it
- Release the bolt
- Place the weapon safely on your cleaning area
Lay out a cleaning mat or tablecloth (bed sheet, whatever) and put on a pair of gloves. I like to order Diamond Grip Microflex gloves in bulk. A box goes for $25 and contains 300 gloves per box.
Microflex gloves are good all-purpose gloves, whether you’re changing the oil on your truck or cleaning out your gutters. They’ll also save you the trouble of trying to get gun oil off your fingers. And besides, some cleaning chemicals can be toxic.
Once your gloves are on and your AR-15 is laid out, you’re gonna want to remove all ammunition from the table.
Step #3 – Cleaning Your AR 15
Separate the upper receiver from the lower receiver. Push your take-down pins out and pull the halves apart. Take care with the tool you use to separate and remove them as you may run the risk of scratching your rifle’s finish.
A nylon punch is the best route to go when separating your receivers.
Step #4 – Remove Charging Handle and BCG
Remove your charging handle and bolt carrier group. There are helpful how-to videos on YouTube for newbies that are cleaning their AR-15 for the first time. Click here to check out one of the simpler explanations of how to remove your charging handle.
Step #5 – Disassemble BCG
Then you’re going to disassemble your bolt carrier group. You start by pushing the bolt to the rear and removing the firing pin, retaining the pin with your pick tool.
Once you’ve removed the firing pin and set it aside, you’ll then rotate the cam pin by ninety degrees and take it out. While the bolt is supposed to slide out, you may have some trouble your first time out. Here’s a helpful video for disassembling your bolt carrier group.
Step #6 – Cleaning Your AR15 Remove Extractor
Now you’re going to disassemble the bolt using a punch and a mallet to extract the extractor pin. From here, you’ll take out the extractor and set it aside for later.
Step #7 – Buffer Pin and Spring
With your punch, you’re going to remove the buffer and buffer spring from your buffer tube. Be sure to take care when pushing down with your punch as the retainer is under pressure.
Once again, there are useful tutorials on YouTube that should help you get started.
Step #8 – Clean Barrel Back to Front!!!
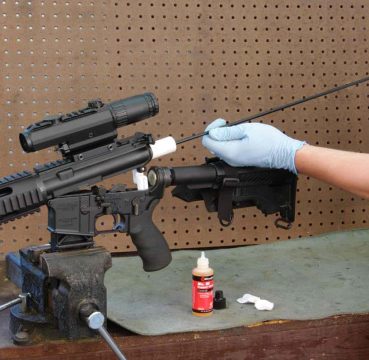
Once the buffer and buffer spring are removed and set aside, you’re going to clean the chamber and barrel. Everyone has their own way of doing it, so you’ll likely develop your own method.
Just make sure that, no matter what method you use, you are careful to clean each of them from back to front. NOT front to back. Back to front. This is because you want to be certain that all debris leaves the barrel. No matter what, you do NOT clean your AR-15 from muzzle to chamber.
Now’s a good time to add some of that Bore Cleaner to your rifle.
Step Nine – Clean BCG
Give all components of your bolt carrier group a good once over. Keep an eye out for any carbon buildup. If there’s build up, make sure to scrub it vigorously.
Clean the extractor thoroughly with a white rag so you can see what’s coming off of it.
Step #10 – Clean Buffer Assembly
After this, you’ll clean your buffer assembly, squirting a little lube on a clean rag and wiping the whole thing down. Once you’ve wiped then buffer and spring, you’re good to go.
Step #11 – Clean Charging Handle and Upper
Now you’re gonna clean the charging handle and upper receiver with a lightly oiled rag. I like to keep at least four rags around when cleaning my rifles because you don’t have to keep running back and forth, washing oil and debris off one rag between steps.
If you’ve cleaned your charging handle and upper receiver properly, the charging handle should move within the upper receiver with ease.
Step #12 – Clean Lower Assembly
Here, you’ll clean your lower receiver and FCG (Fire Control Group). If you don’t know what your fire control group is, take a look at this.
You want to make sure that there are no cracks on the hammer or the lower.
Step #13 – Putting it All Back Together
You’ve done it, my friend. Now it’s time to put it all back together again. You’re going to reassemble your rifle working backwards from step twelve.
Step #14 – More Lube
After your rifle is intact once again, you may want to lubricate it. Everything from your charging handle to your bolt carrier group should receive a light coating of oil. When you’re done, it should be gleaming.
Your fire control group, bolt catch button, mag release and safety selector should all receive a drop or two of lube.
Step #15 – AR 15 – Function Check
Last step on how to clean an AR-15. This is when you should perform a function check. Look around and make sure there is no ammo laying around. It should still be safely secured and stored away.
Like you did at the start, pick up your rifle and point it in a safe direction. Pull the bolt to the rear and release it. Place your safety on and give the trigger a good squeeze. If the hammer drops, you’re in trouble. If the hammer doesn’t drop, you’re in the clear.
Take the safety off, train your firearm on a safe target and pull the trigger. If the hammer falls, you’re all set.
You’ve done it, the hard part is over. From here, you should clean your magazine the same way you cleaned your buffer assembly (see: above).
When it comes to maintenance, you should consult with the manufacturer of your AR-15 to determine the precise maintenance schedule you should keep for your firearm. All guns are different in this regard.
AR-15 O-Ring Failure
The average failure that occurs with most rifles is the O-ring being compromised. If your rifle develops a problem with its bolt carrier group or other components, be sure to work on that area first and foremost.
Always keep your rifle lubricated and you should be alright. Lubrication is key to rifle maintenance.
Always inspect all components during each cleaning.
How To Clean an AR-15 – Conclusion
There you go, that’s about everything you need to know about cleaning and maintaining an AR-15. See, I told you it was simpler than you thought. If you follow these steps on how to clean an AR-15, you should have a long and positive experience with your AR-15 rifle.
Be sure to take your time when cleaning and pay attention to the condition of all components. Happy hunting.
Forgot to mention – love your AR? Every thought of upgrading your setup and getting the best scope possible?
Recommended Reading
Corrosive Ammunition and How To Clean Your Gun








7 Responses
Lotsa ‘over kill’ here; swab the bore; clean the BCG; get some LSA on e-bay and you are good to go. The more ‘little pieces’ you take apart the more fun you are going to have ‘searching’ for them. Go to ‘Brownellsdotcom’; create an account and put a ‘spare parts kit’ in your ‘wishlist’; they do have ON shipping; you’ll probably need it.
John Doe, the typical Trump supporter too pussy to use his real name….
Zach/Joshua Dixon, if you are two different people and that’s really your names, I guess we have people like you to thank for our current legal system threatening our right to own and use guns. Your Trump Derangement Syndrome has led to a severe over-correction in the self-installation of liberal nazis who are exercising their authoritarian control of our arms. Way to go, your hatred for all things orange will cost you and the rest of us our God-given rights to own guns. And who is the tyrannical pussy?
Zach-
By non-americans, you must mean illegal immigrants?? Right? Every morning I wake up and feel so grateful that I’m not a brainwashed, anti-american, liberal, piece of shit.
Sincerely,
Lil’ tyrant Trump supporter
You left out cleaning the gas tube, the number 1 cause of FTF, FTE.uns
Guns are for killing, anyone thinking otherwise really does not understand what a gun can do.and why it was developed. It was not invented for any other reason, certainly not for wasting ammo/money/resources aka ‘target shooting’.
You believe america should be ‘free’…SHOULD be?….isnt it free now? To a degree anyway?
Except for non-americans…and liberals…and nazis…lil’ tyrant trump supporters…oh and well, the list grows.
I own several ARs and I don’t hunt. I target shoot because I enjoy it. So don’t assume everyone follows your ideology that all guns have one purpose.
Zach-
By non-americans, you must mean illegal immigrants?? Right? Every morning I wake up and feel so grateful that I’m not a brainwashed, anti-american, liberal, piece of shit.
Sincerely,
Lil’ tyrant Trump supporter